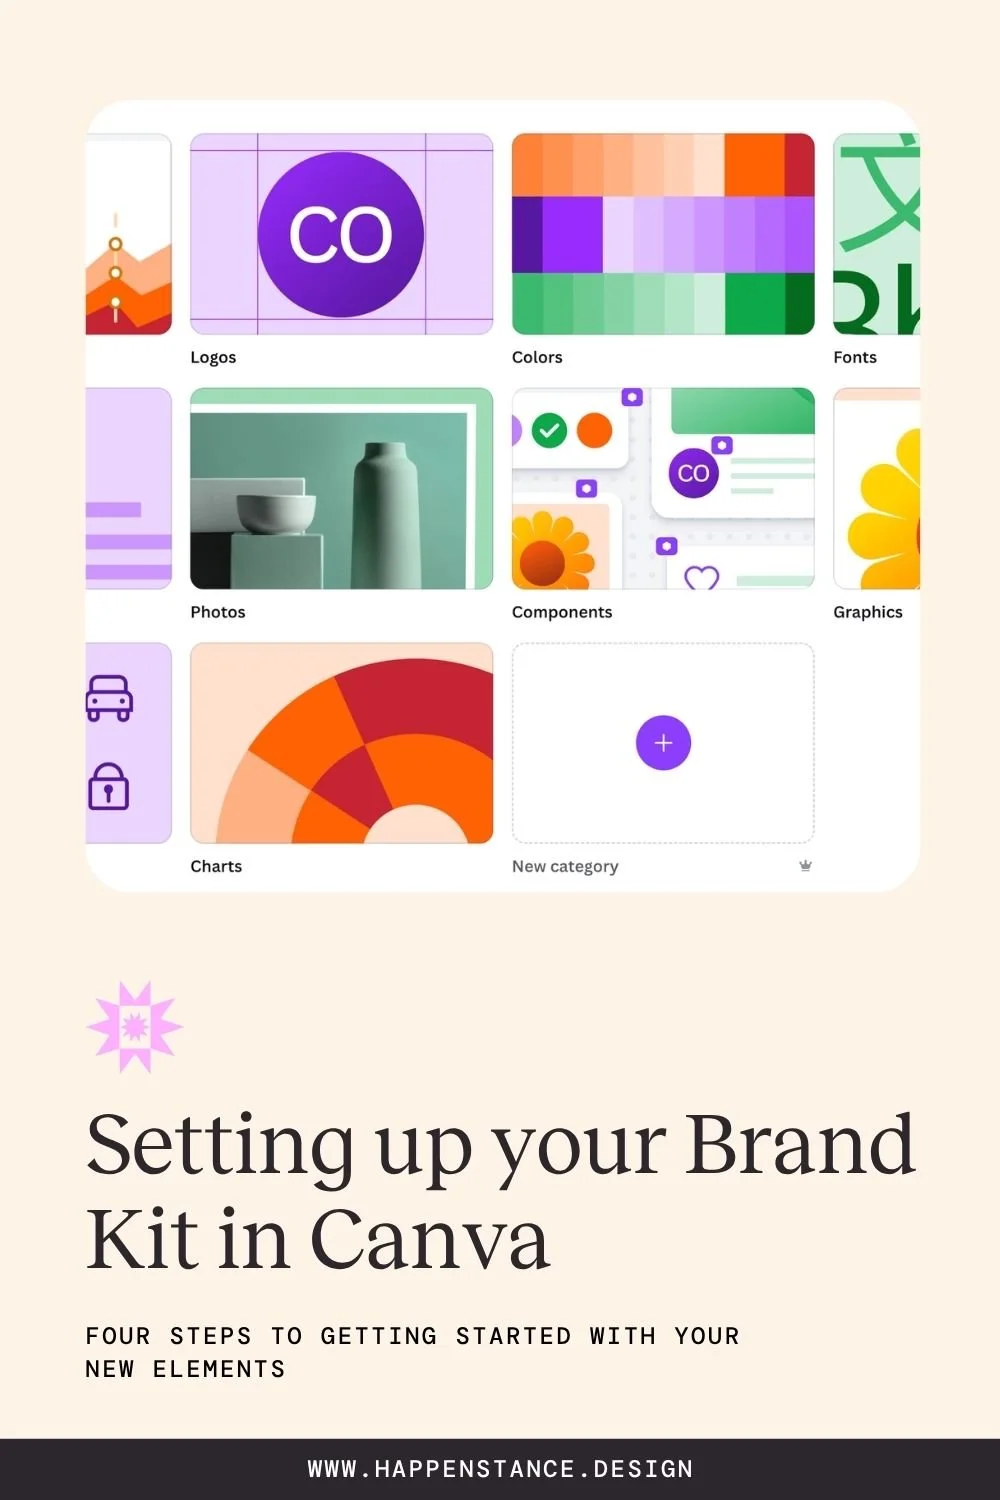
Setting up your Brand Kit in Canva
Your designers sent you off with 1000 files, your color codes, and your fonts… now what? Oftentimes, our clients use Canva to build out their brand collateral after our work together finishes, so we thought we would put together a guide to show you how to set yourself up for success with Canva’s Brand Kit tool.
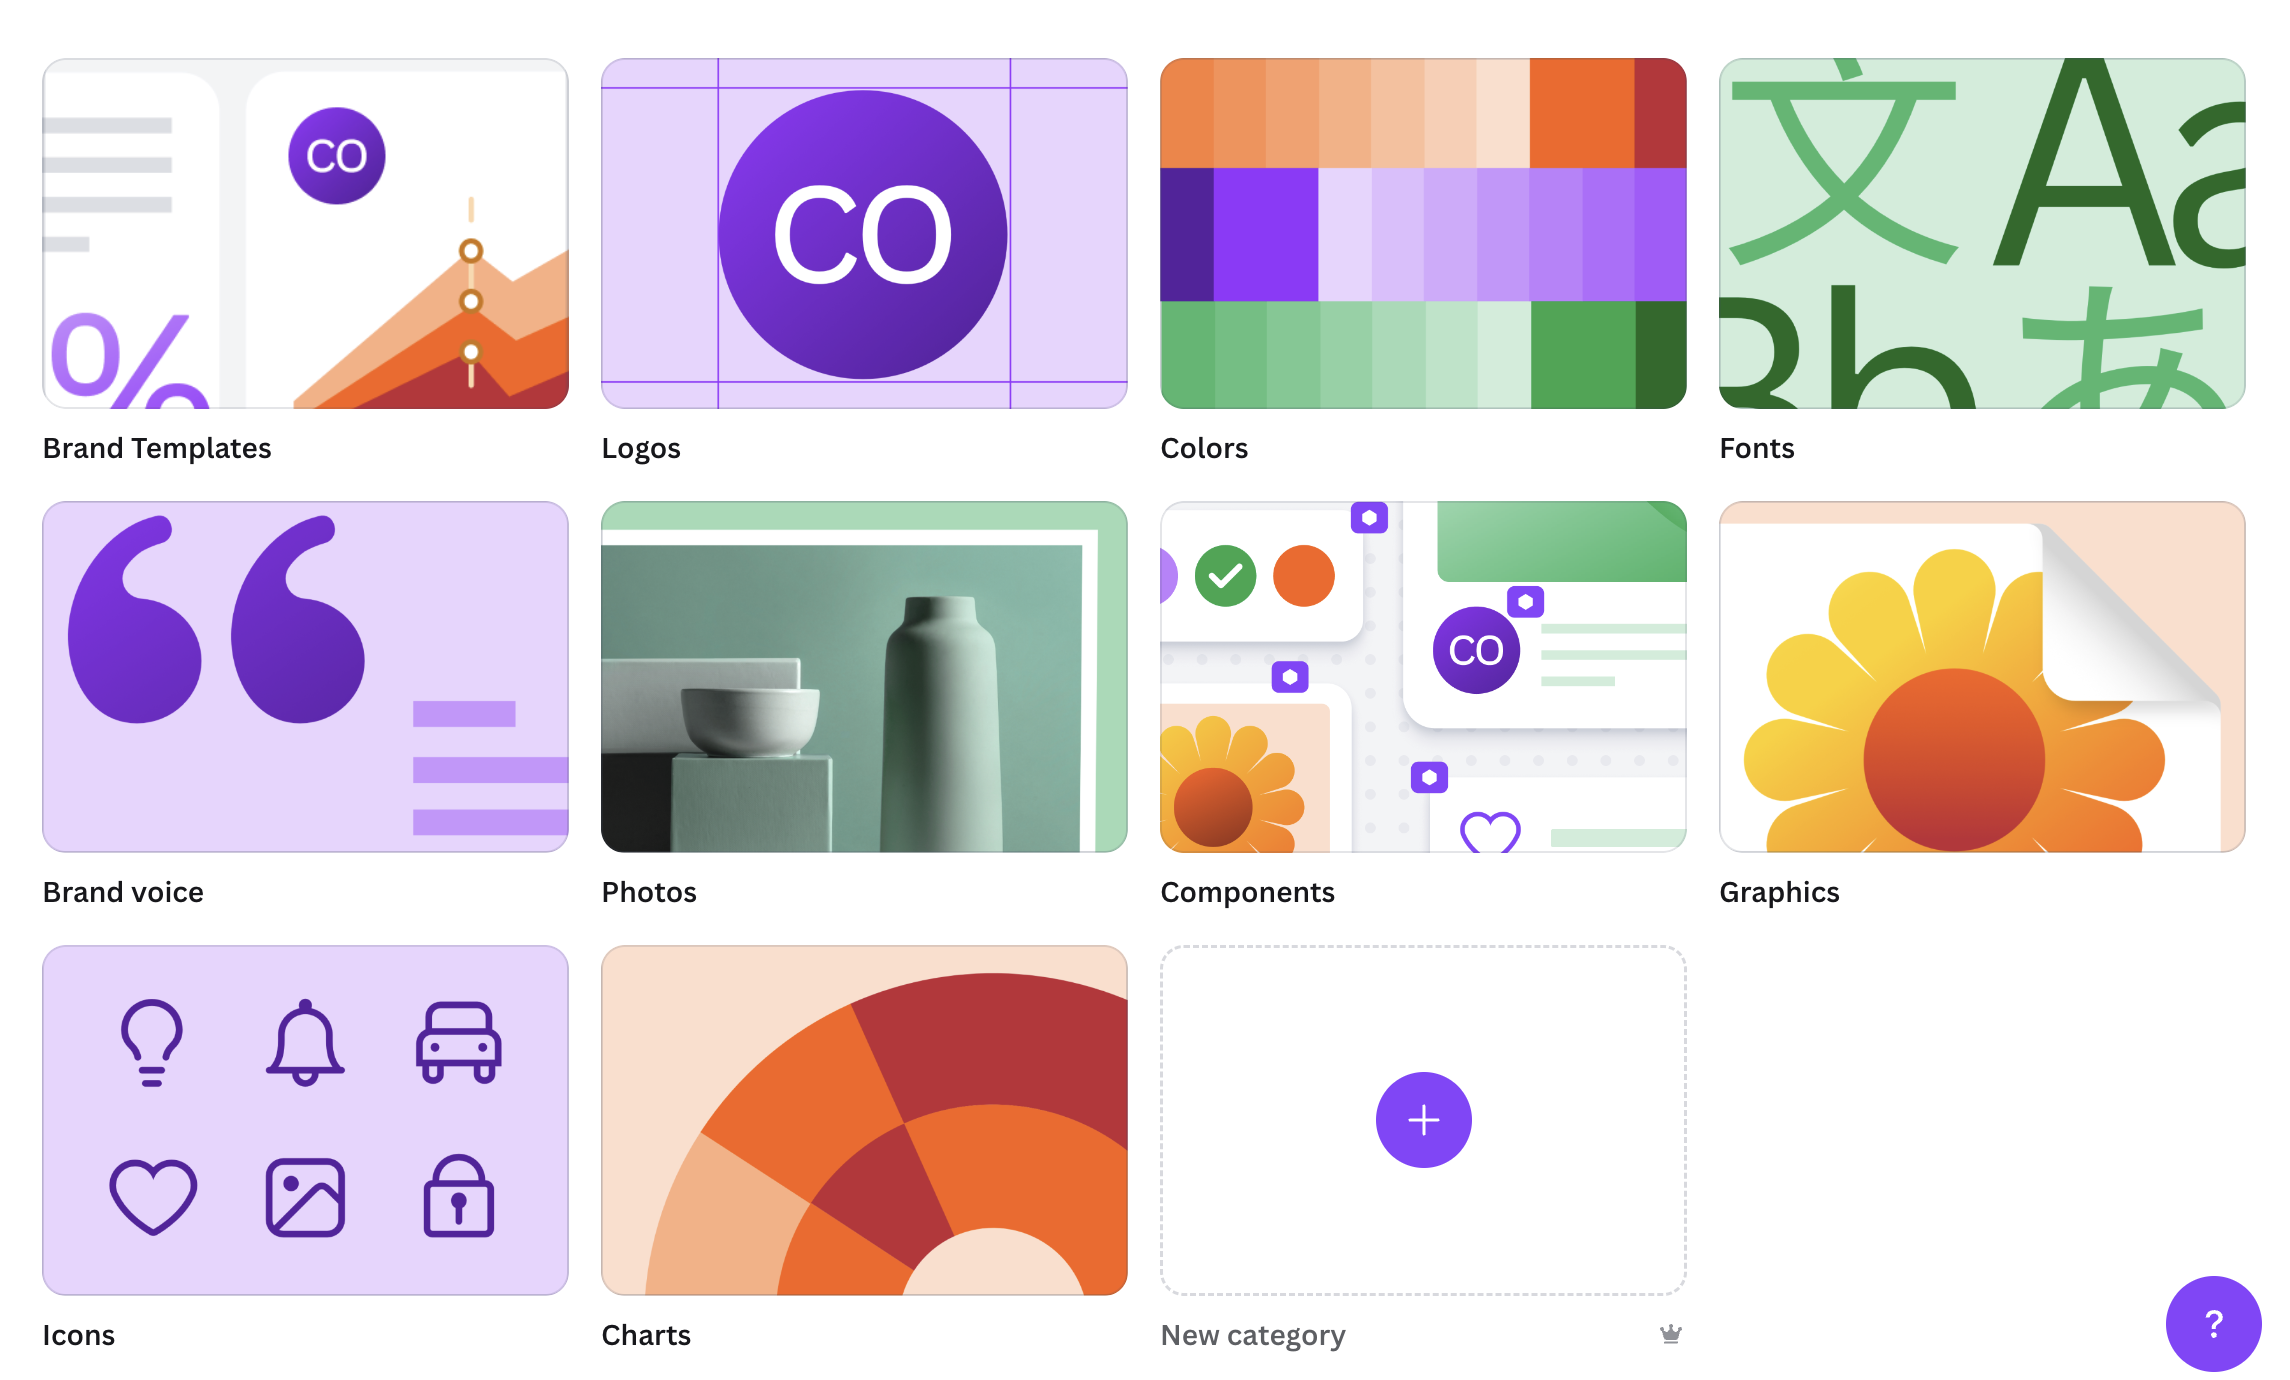
Step One:
Upload your logos, graphics, branded photos, and icons.
The first step you’ll want to take, aside from naming your brand kit, is to begin uploading your brand elements. But beware, you’ll want to take care that you are using the right file types for the right elements! Your graphic designer very likely sent you off with a plethora of file types (.png, .jpg, .svg., .eps), so here is what you’ll need to know.
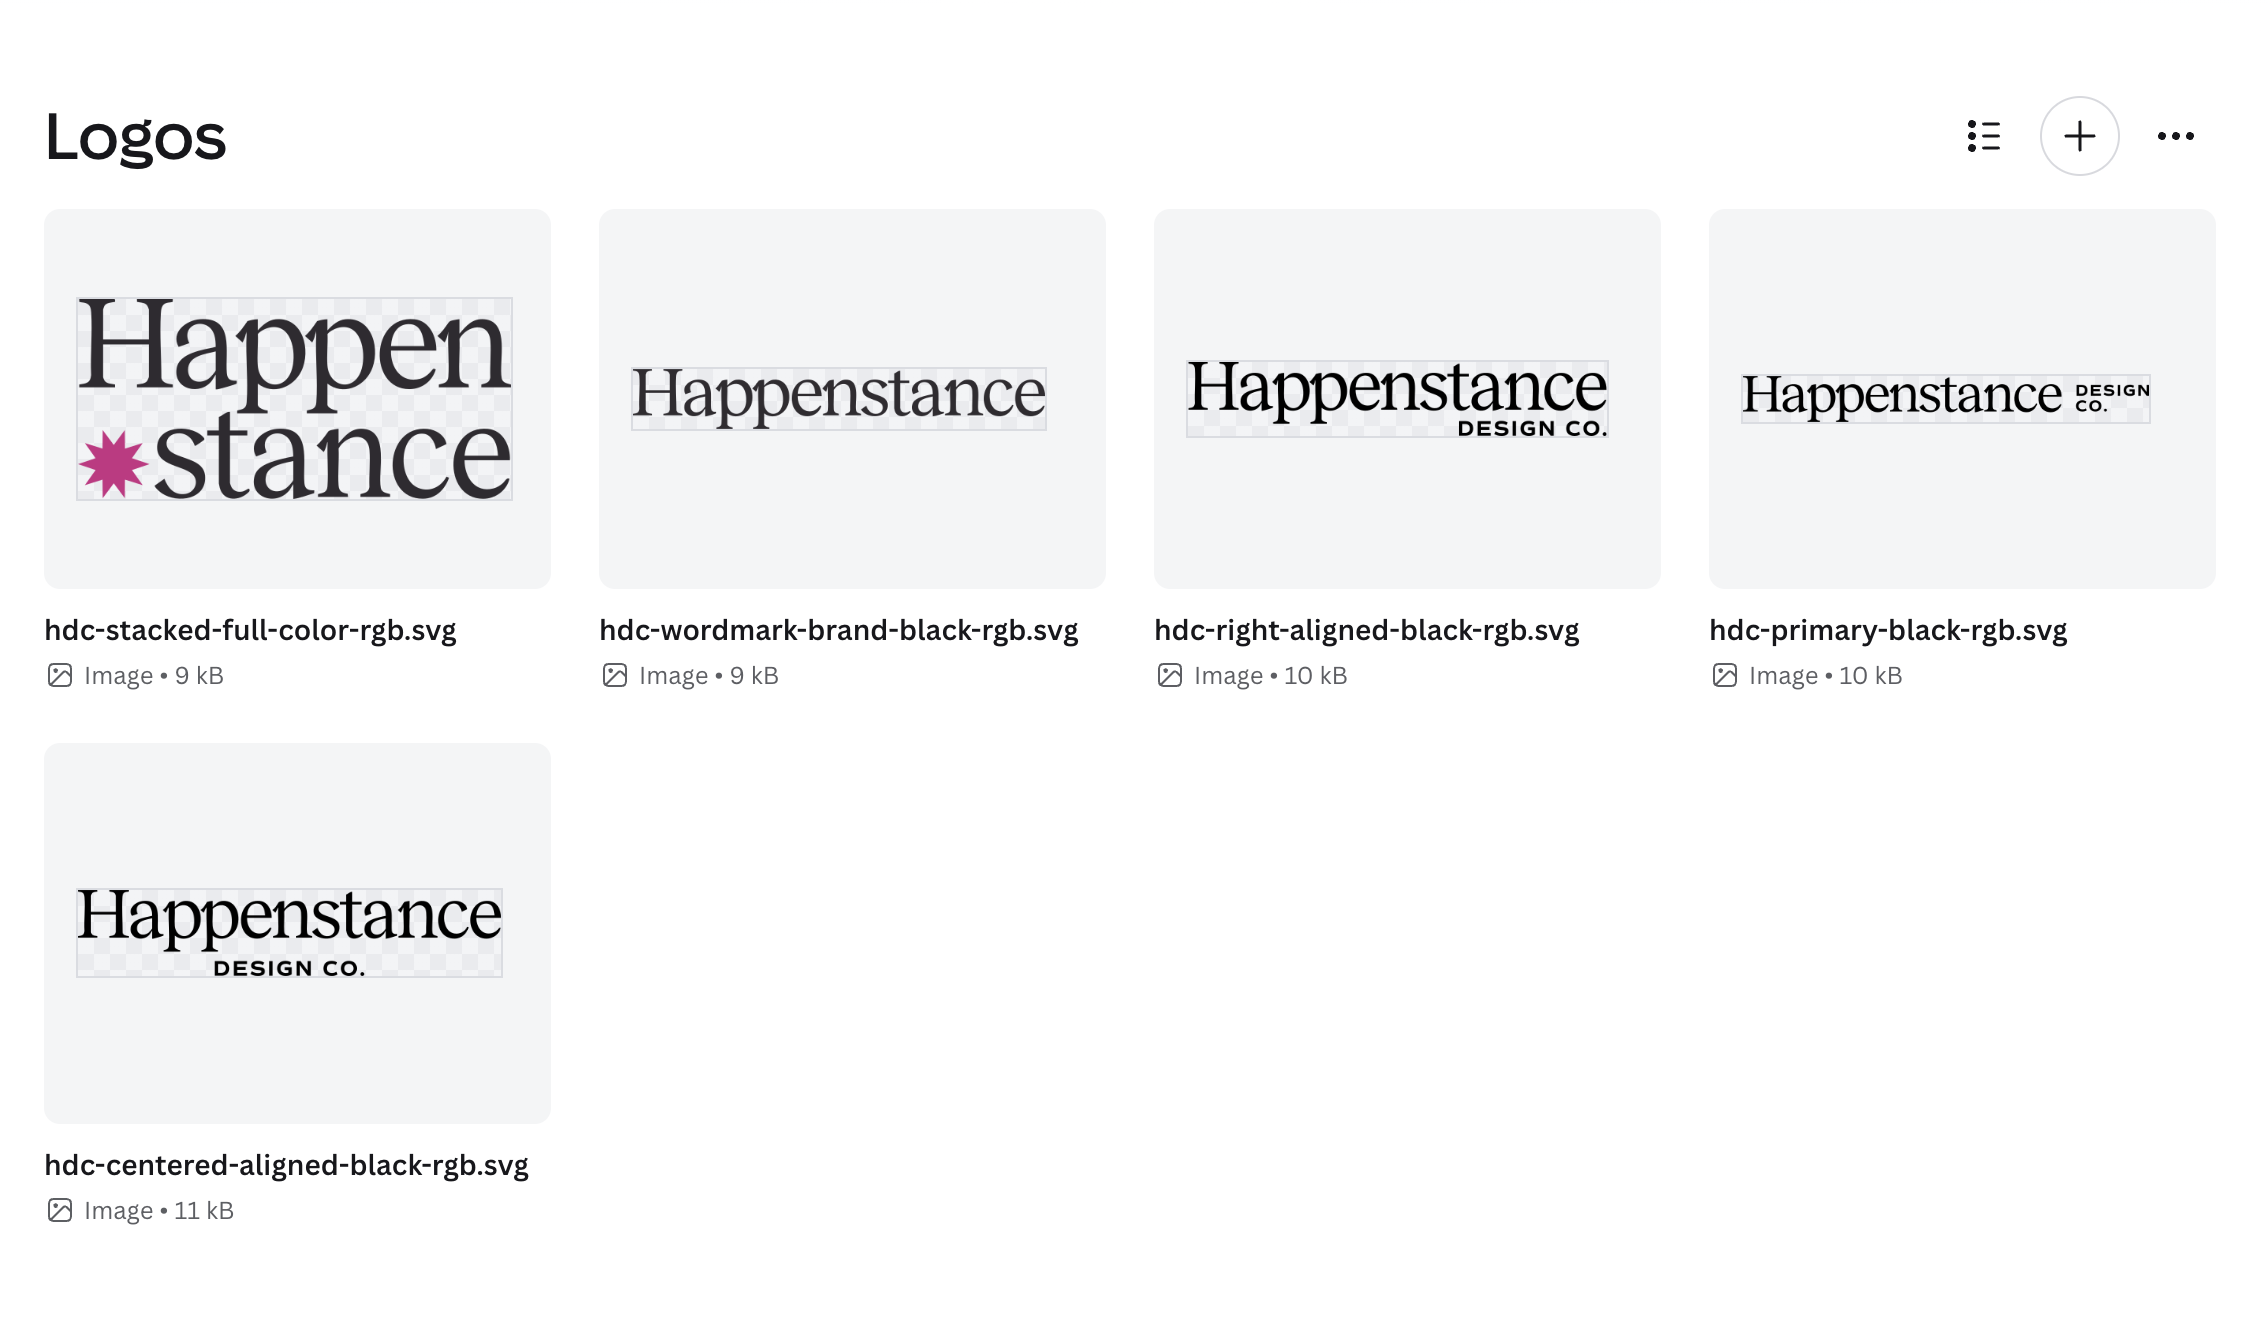
SVG:
For the majority of your graphics (logos, icons, vector graphics), you will want to use .svg files. These are infinitely scalable (aka vector), and Canva allows you to change their colors once you upload them. This is especially great for icons and vector graphics so you don’t have to dig through your folder of infinite colors to try to find exactly the right one.
PNG:
Use .PNG files for any illustrations, patterns, or graphics that aren’t vector files, but need a transparent background to overlay over images or other elements.
JPG:
Use .jpg files for your branded photos and any background textures and patterns that do not have transparency.
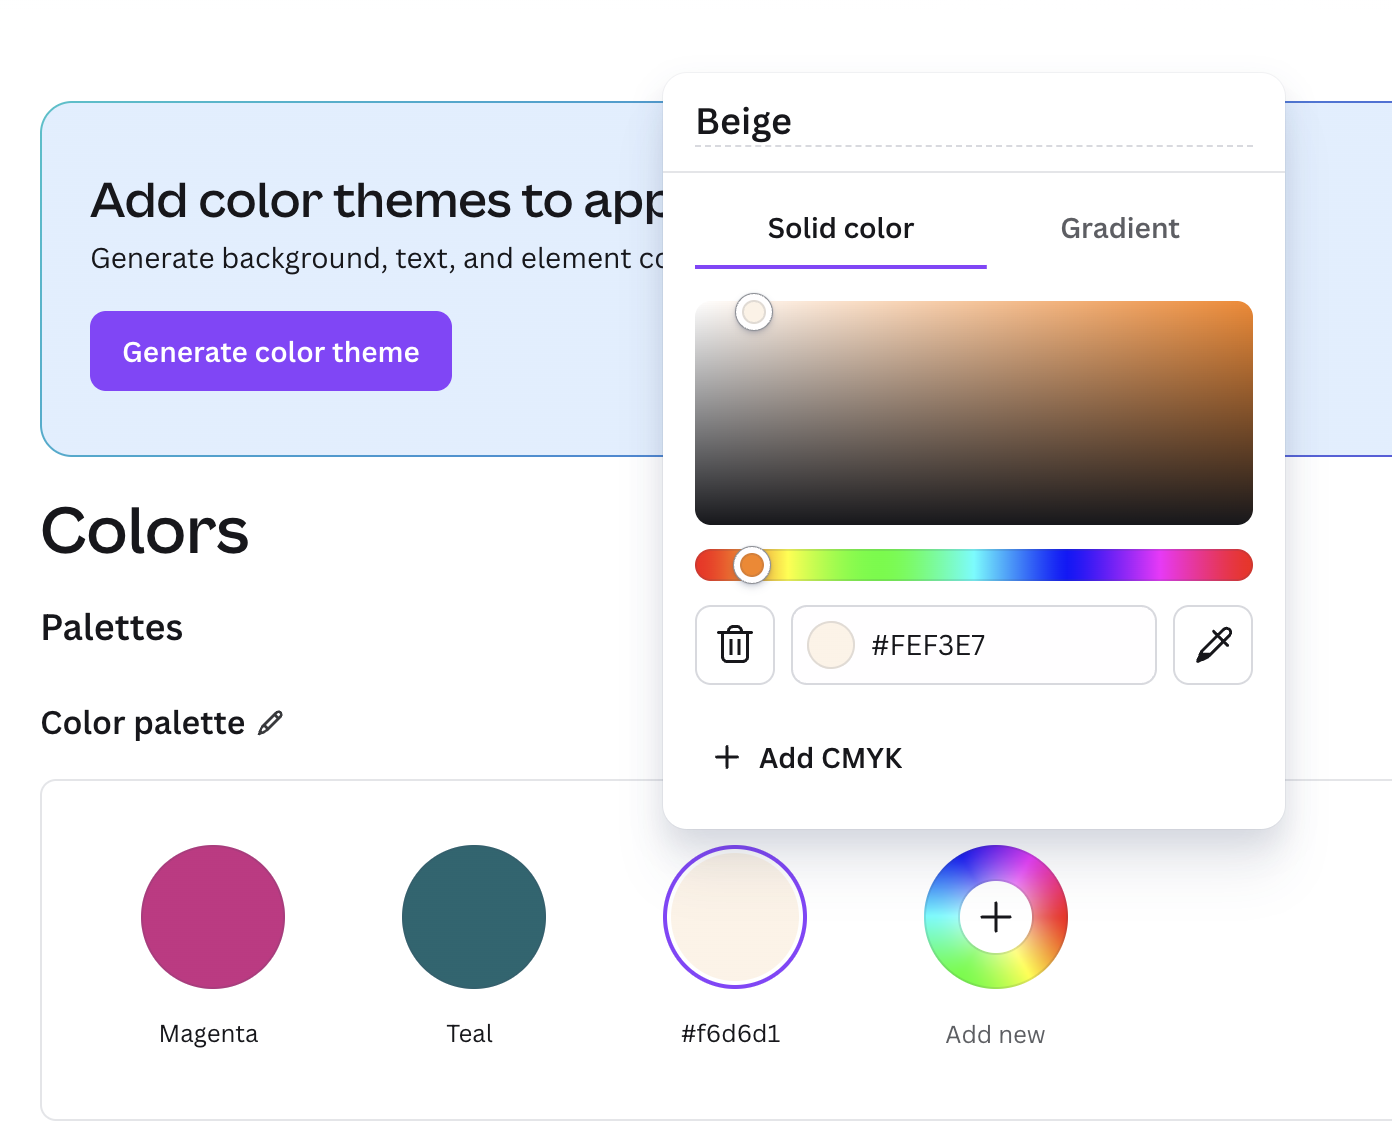
STEP TWO:
Upload your colors.
Add your brand colors to your brand kit using the codes provided to you by your designer in your brand guidelines. For Canva, you’ll want the HEX codes. You can even name them after you’ve added the colors!
STEP THREE:
Add your fonts.
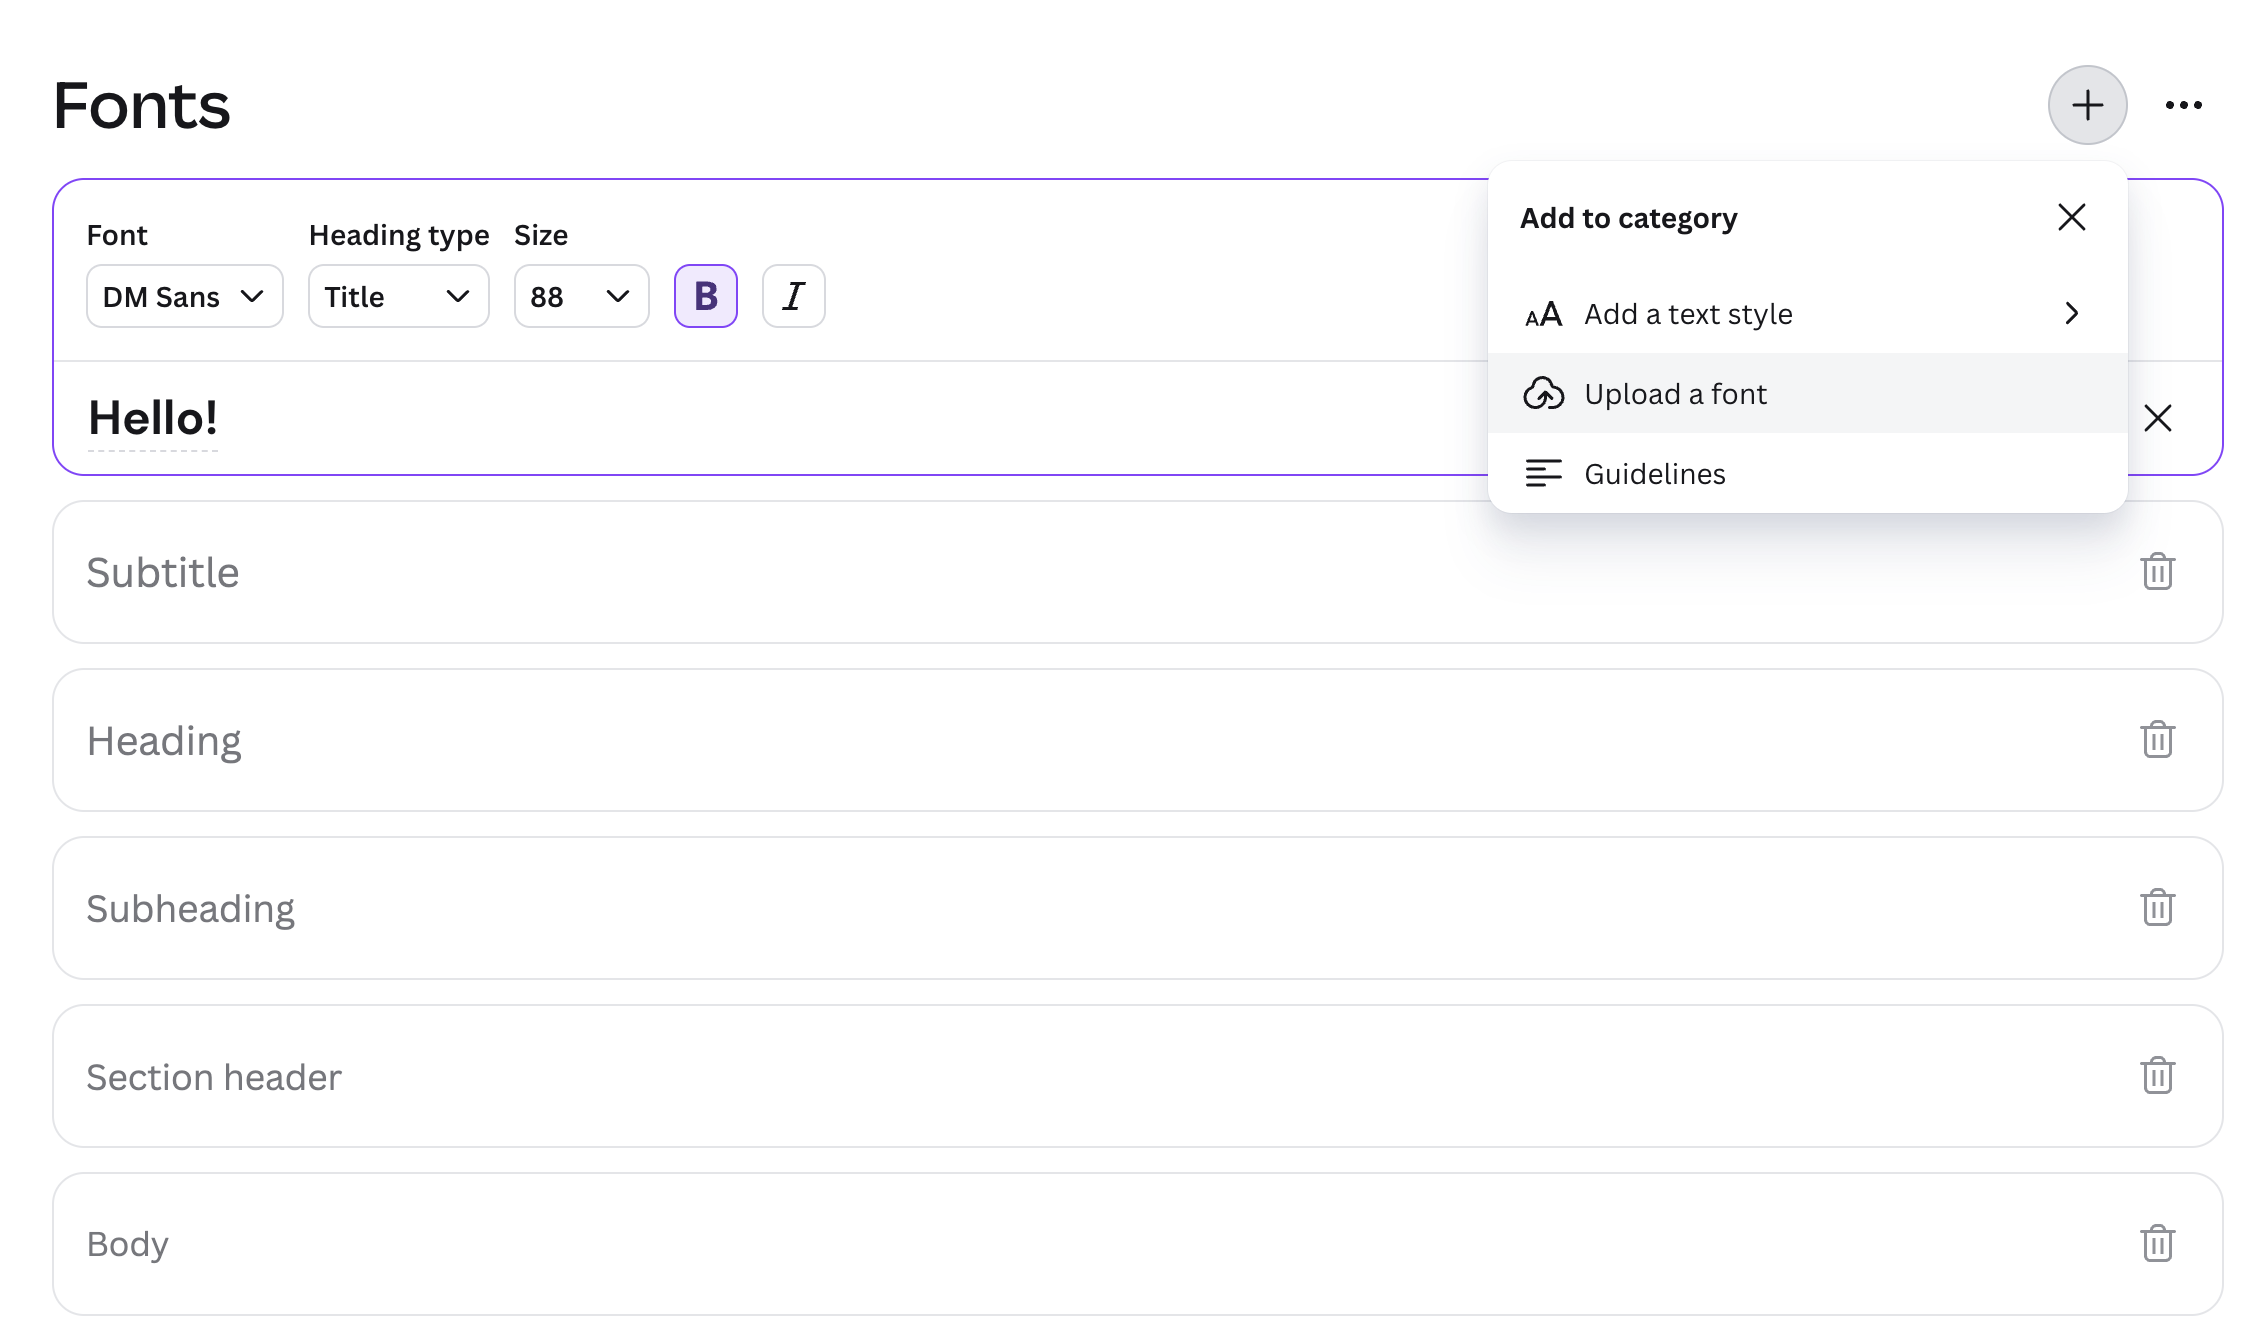
Next, you’ll want to add in your fonts and type hierarchy to Canva. While I find their type tools in the brand kit a bit underwhelming (you can’t set case, line-height, or letter spacing), it’s still a great jumping off point when developing graphics for your brand. Find your fonts and add them to the different hierarchy names based on your designer’s recommendations. You should have a page in your brand guidelines that tells you exactly which fonts and what size to use for headings and body text.
What if Canva doesn’t have my font?
Great question! Canva has an extensive font collection, but they don’t have them all. If you use the free version, make sure you let your designer know so they can find appropriate dupes for your brand fonts that are available in Canva.
If you use the paid version and have the licenses for your fonts, you can upload them directly to Canva for use!
STEP Four:
Start Designing!
Now that you have the basic building blocks of your brand uploaded and ready to go, it’s time to get designing. We always suggest making some brand templates - it’s a great way to get to know your elements and makes life a lot easier for you in the long run!
The Latest from Happenstance
✸
The Latest from Happenstance ✸